Cameras have become a visibly important feature in smartphones these days. Things have improved in mobile photography so much now, that some of them can even compete with most of the entry-level DSLRs in the market.
Even budget smartphones these days pack some decent optics and photo abilities that some of the flagships didn’t even have a few years ago.
What if we told you that you too can use your smartphone camera to take snaps like a pro? Or at least as close to them as can be. The good news is that its possible and all you need to know are some basic photography tips.
Before we begin, lets start by recapping what usually happens when most of the people use a smartphone to take a picture.
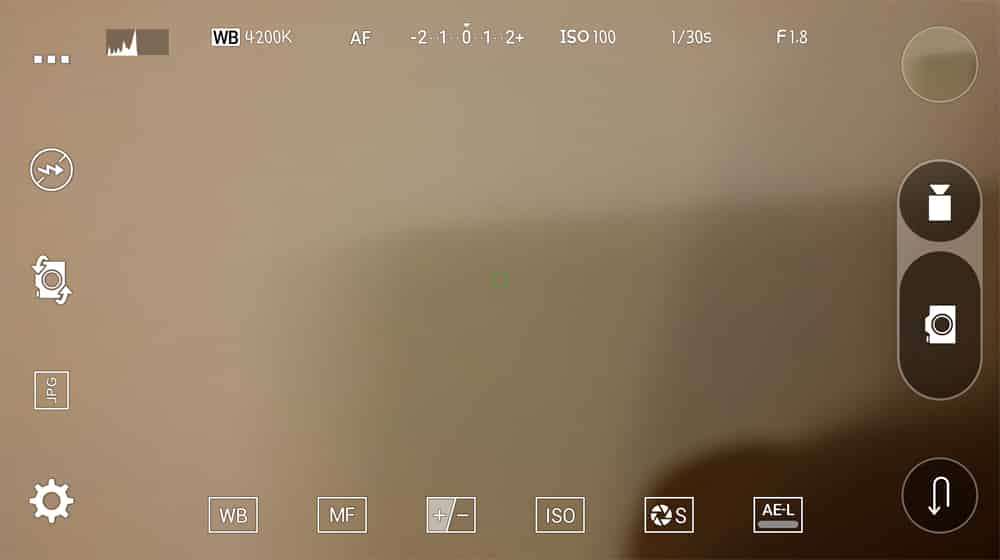
Now, all smartphone cameras are by default in Auto Mode – you just tap tap the screen to focus and take a picture. The most you could do yourself was just turn the HDR ON or OFF or turn it to Auto. In the recent year or two, smartphones manufacturers have started including manual or professional mode in the cameras, similar to what you get on DSLRs. It allows you to have more control over the the final results of the photos that you take. While most photography enthusiasts do know how to take full advantage of the manual mode, most casual users do not.
So here is everything you need to know on how to use the manual mode on your smartphone’s camera and what the terms that you see actually mean.
1. Shutter Speed
A shutter can be defined as a curtain that is in front of the sensor. A photo is taken when the shutter moves from in front of the sensor and covers it back again. The speed at which it moves is the shutter speed. The longer the shutter remains open, the more amount of light you can capture in your frame. Shaking hands are also an issue when using slower shutter speeds as the photos might end up blurry.
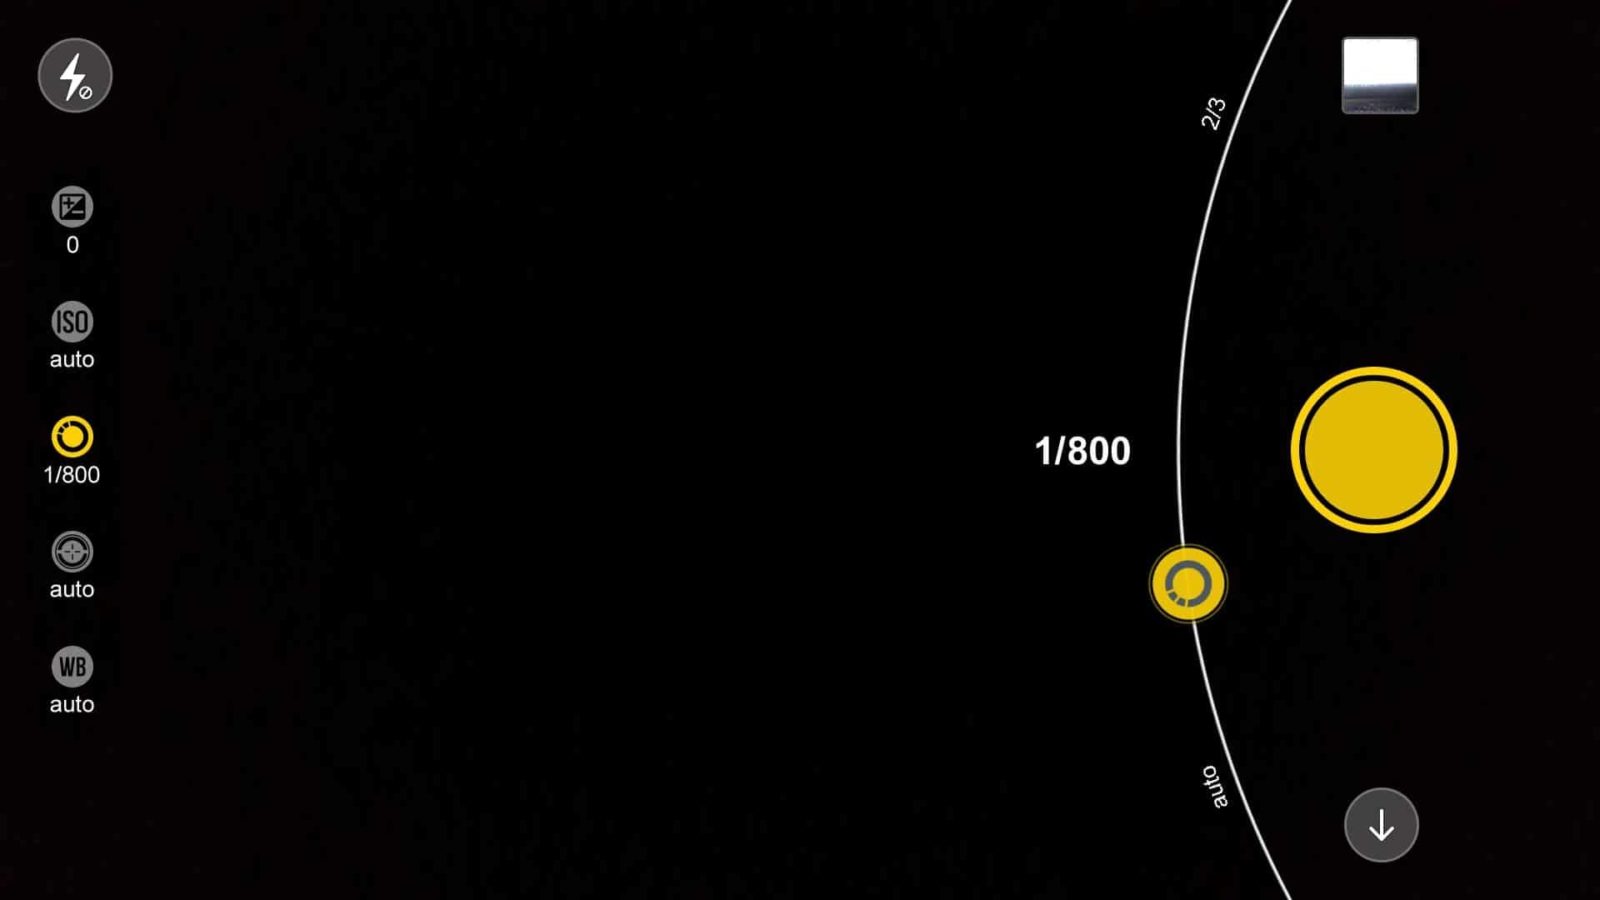
Shutter speed is measured in seconds. Values on a DSLR vary from 1/4000s to 30s. Since smartphones have limitations, you can’t get these numbers but the ones that are available are still enough to do the job.
Here’s my example. The phone I have (Lenovo K6 Note) has values ranging from 1/32000s and 30s only. The smaller the value, the faster the shutter speed is but, if not required, the image might be underexposed. So, it’s crucial to strike a balance between choosing your shutter speed.
Take a look at some of the examples shown below:


In my case, I went with a shutter speed of 1/800s for a perfect shot of the car. Now that you have a better idea, experiment with shutter speeds to get the best results.
2. ISO
Back when film cameras were used, it was important to use a film that had the exact same ISO speed as the one set on the camera. But that was in the old days and we are now in the digital age.
So to sum up what ISO means when it comes to your smartphone cam, basically it is the level of sensitivity of your camera to the light that is entering the camera’s sensor. The lower the number, the less sensitive the camera is to the light.
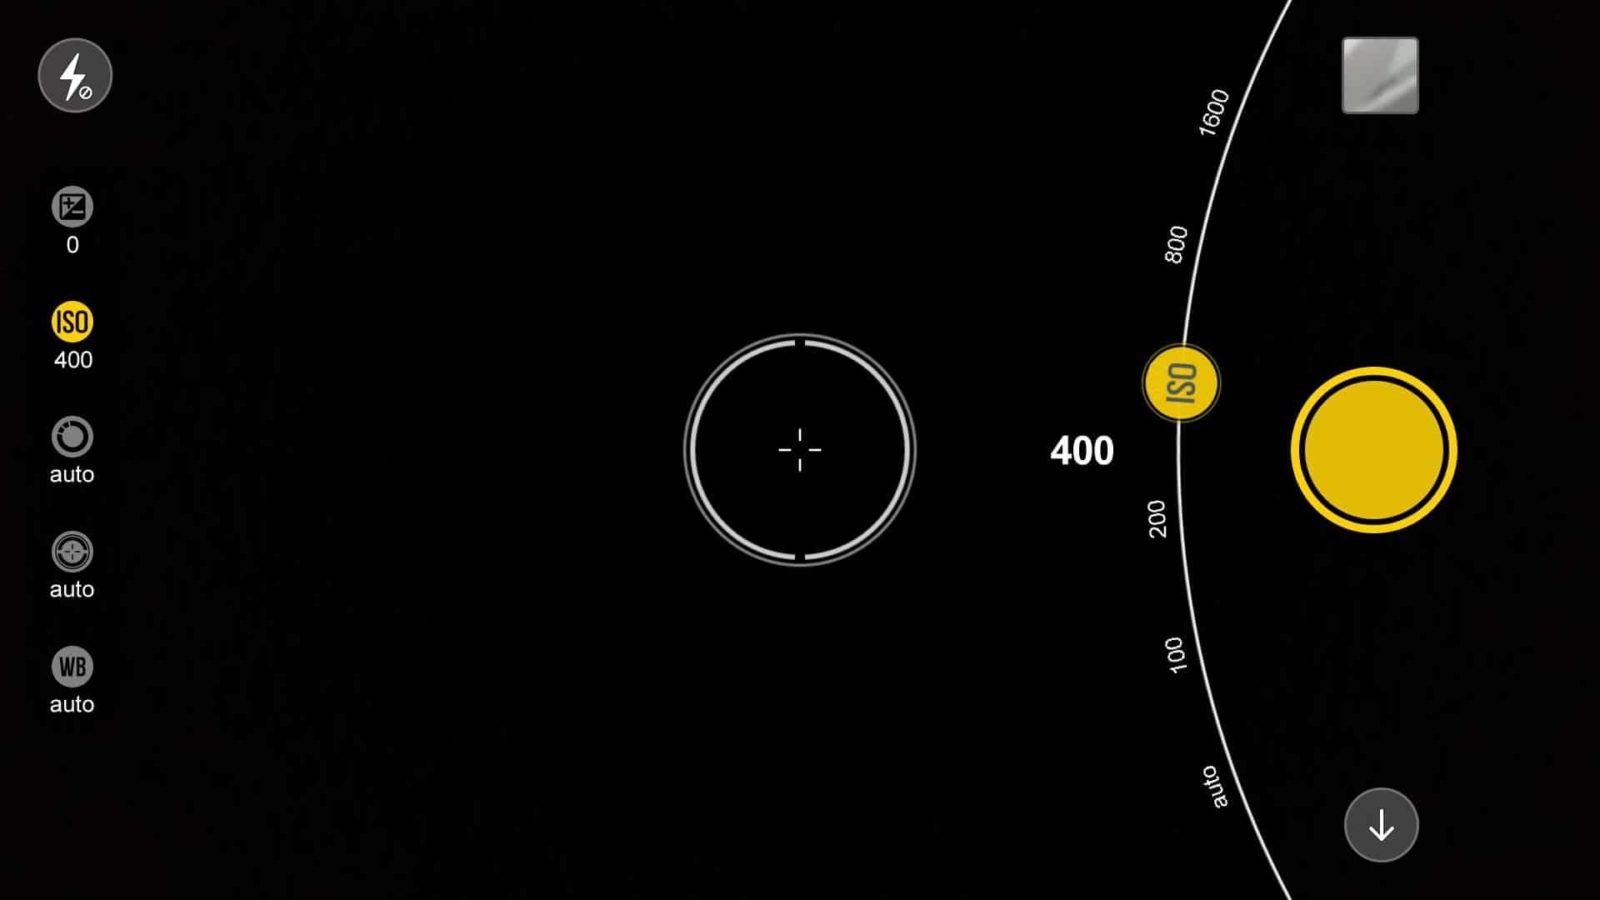
So you must be thinking that – the higher the ISO, the better the results of low-light pictures, right?
That’s not what happens. Increased ISO means that you can also get noise or grain particles in images and it does not look good in photos. So, it’s recommended to keep the ISO as low as possible but you can still adjust it to your needs.
3. Exposure Compensation
Before taking a photo, the camera will estimate the exposure of the photo based on your settings such as ISO and shutter speed. Exposure compensation is used to alter the final exposure levels of your photos to your liking. For example, if you are taking photos in bright daylight and you can’t get the photo to be under exposed, you can do so via exposure compensation.
It can also be used to turn the brightness up in a shot but the results aren’t always too impressive.
5. White Balance
White balance is an aspect of photography that most people either don’t know about or don’t use. But in reality, it plays a huge role in how your photos look.
You might have seen images that come out either blue, too white, orange or red. This is all because of white balance. Different white balance settings allows you to change how the color on the final appears and how accurate it is to reality. It’s best to leave this to Auto so that your camera can figure out the best settings to use.
But if you are using it manually, you can adjust the color temperature to your liking but make sure it is neither too warm (orange) nor too cool (blue).

Take a look at some examples below how white balance effects the colors of the photos:


6. Focus
Finally, the focus. It is one of the most important part of taking a photo and most of you will be familiar with this term. If your subject is not in focus, it will produce blurry photos.
You can also link focus with sharpness. The better your subject in in focus the sharper the image will be. In manual controls, you can set the focus to auto or control it yourself via a slider.
Would you like to see more smartphones tutorials like these? Let us know in the comments below!
Stay Connected with ProPakistani
Get the latest news, tech updates, telecom insights, and business stories wherever you prefer.
Add ProPakistani to Preferred Sources and see more of our stories in Google Search and Top Stories.


What About Q Mobile User they can be enjoyed with these features ???
You need to have manual/pro mode in your phone
I am Huawei User
I am Huawei User
What About Q Mobile User they can be enjoyed with these features ???
I like this effect :D Chaacha effect :P https://uploads.disquscdn.com/images/32f8190732c52fa9209d1541eabf661810ffb214530deabaed98e4a359b69460.png
https://uploads.disquscdn.com/images/78377d312da8d4eed23b1d5799a45667df3b5e5d4ded4792f54e4835152b386f.png
https://uploads.disquscdn.com/images/569d88f773a3142326a643cde85a03ac2e481fdfdb2508ed49849719ed1b1d16.png
https://uploads.disquscdn.com/images/b8153cb8174f805ff818ff5facbd365b9f93060a2b9baf4778562d3998566d50.png
https://uploads.disquscdn.com/images/ec89400281a1399997e391a78037bee4d147be4aabcbaceadafc0b2a08846b11.png
https://uploads.disquscdn.com/images/af9ae15729a0e9df772ea95de1ab8e1cce49e02dfa7c6b8055e1bfb9b1986c15.png
Samsung flagship devices offer lot of mode including selective focus and pro mode
Sample from my s8
please tell the best camera apps review