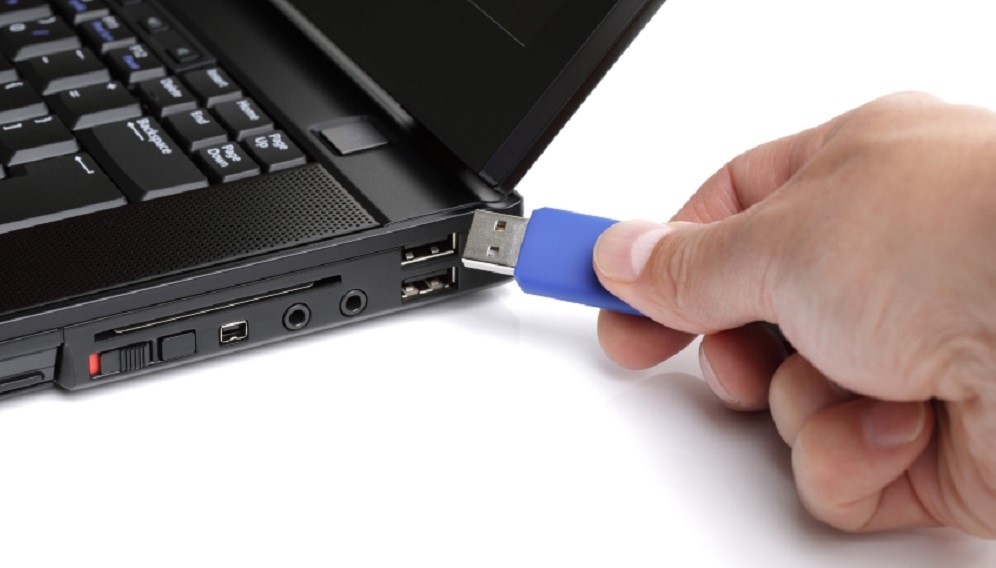
A computer’s value to a person is all the data it contains, which is stored in the secondary memory – the hard disk. So, while carrying around a 4GB DDR3 RAM or an Intel Core i5 in your pocket wouldn’t really make sense, you can easily carry around all your data in the palm of your hand.
Imagine, carrying around a portable Operating System in your hand which you can plug into any computer anywhere and just use it like you would use your very own computer at home.
What’s even better is that you don’t even need to buy a portable hard disk – all you need is a USB drive and not even an expensive one at that. You can simply buy an 8 GB one for under a thousand rupees and make it into your own portable Operating System.
Making a Bootable USB
A USB which acts as a portable Operating System is known as a Bootable USB. You can install almost any Operating System on a USB, from Windows to Linux’s various versions to even Chrome OS.
The OS we are going to choose for this article is Chrome OS. Not only is it incredibly lightweight, coming in at just a couple of GBs, but is also incredibly fast. It is perfectly suited to be a portable, carry-in-your-pocket Operating System.
What You’ll Need
- A 4 GB USB or higher (We recommend at least 8 GB in case you need storage capacity for other files)
- PC: Windows, Linux, or Mac
- Chrome: Download Google’s Chrome browser by visiting this link.
- WinRAR, 7Zip, WinZip: Any software to decompress files. You can download WinRAR for free by visiting this link.
How-To Create a Bootable USB
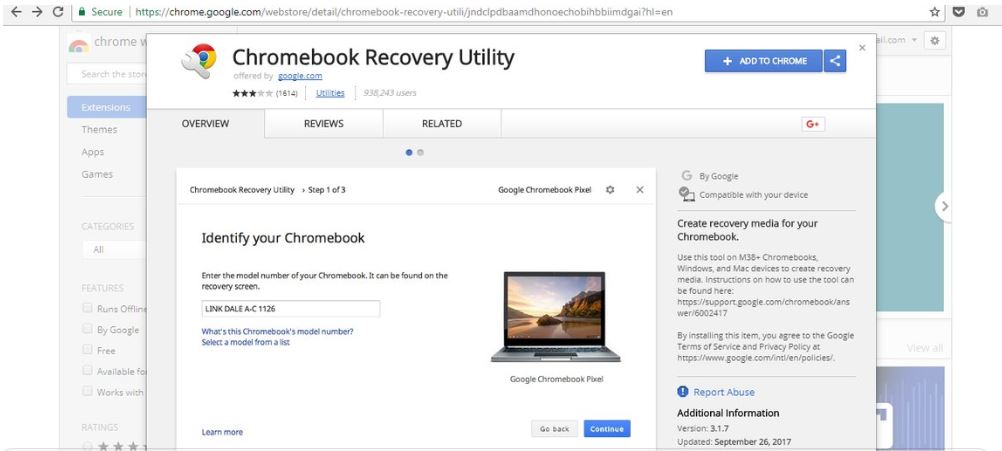
1. Install Chrome’s Recovery Utility by visiting the Google Chrome Store and clicking on the blue “Add to Chrome” button.
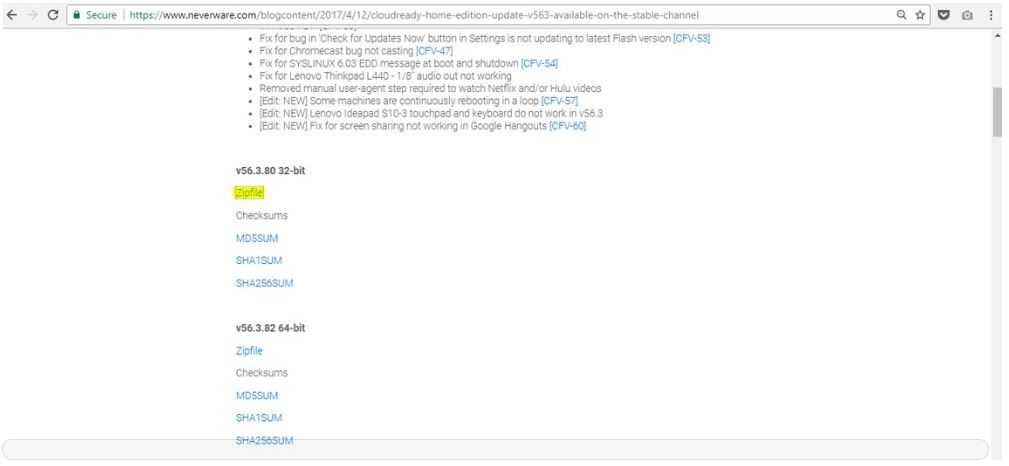
2. Download Neverware’s CloudReady software by visiting this site. Neverware is a Google-backed company that lets you run Chrome OS on any laptop.
Download the Zipfile (32-bit or 64-bit depending on your laptop). We’ll use a 32-bit version for this tutorial.
3. Once the download is complete, extract it and move it to a separate folder.
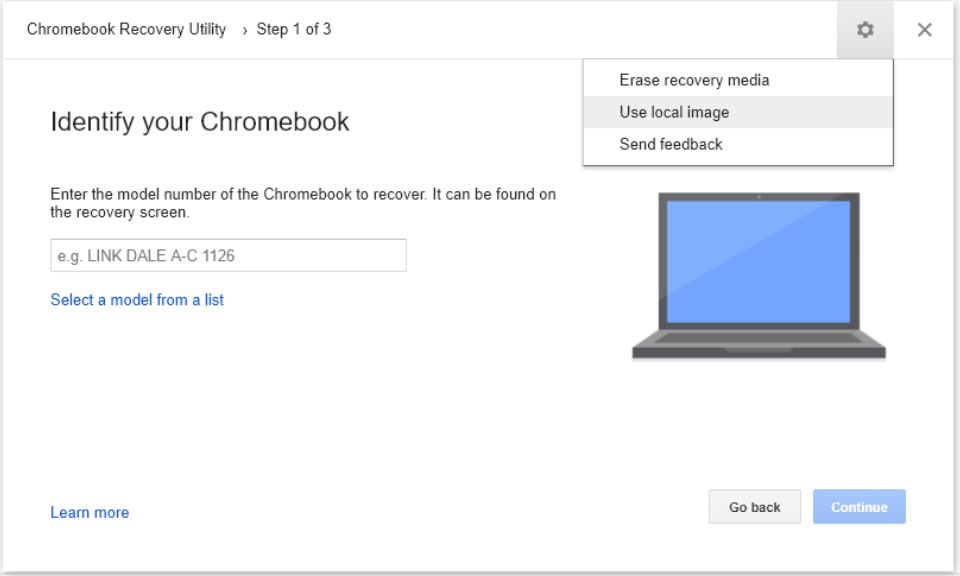
4. Now open the Chrome Recovery Utility by visiting this link and clicking on the green Launch App button. You should see this screen.
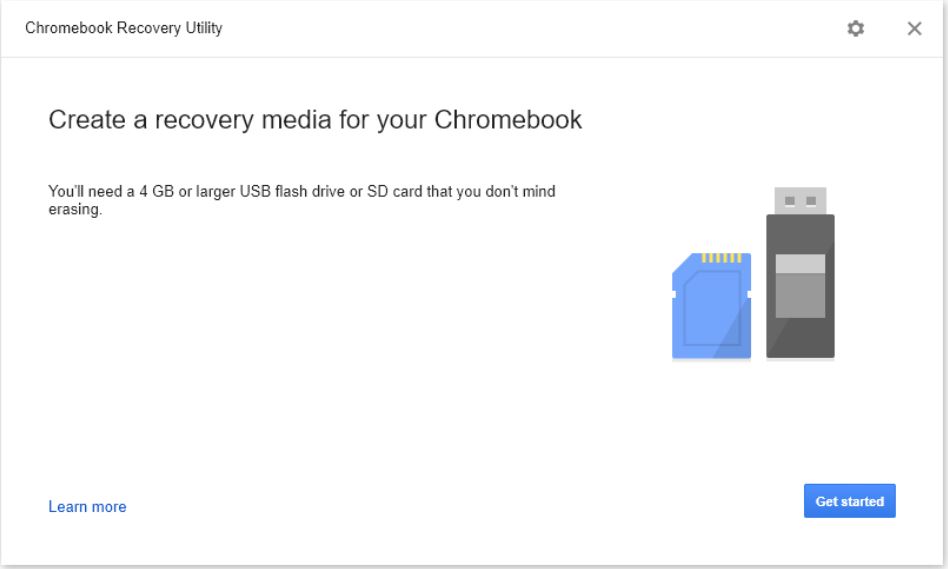
5. Click on Get started and then on the Settings icon on the top. Then select Use local image.
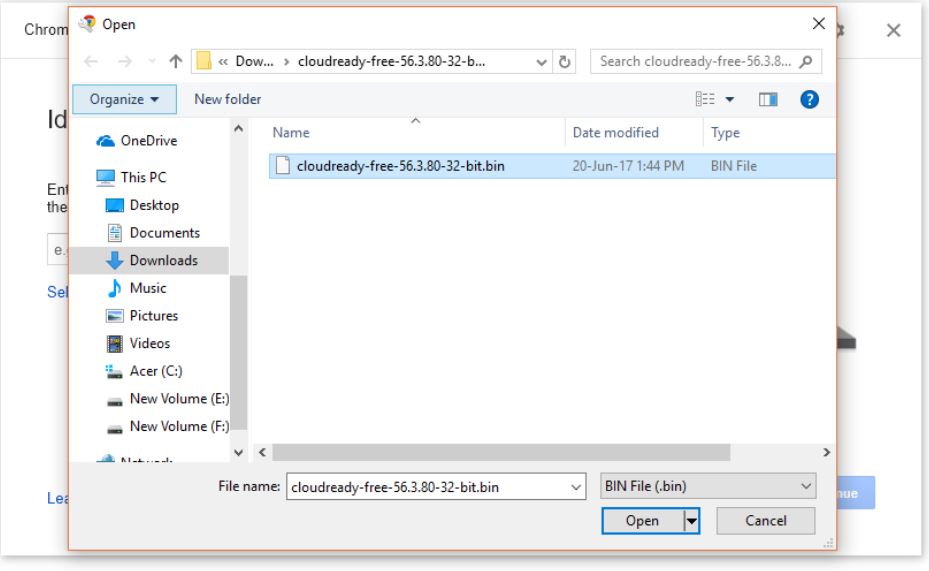
6. Browse and select the .bin file you extracted earlier in the second step.
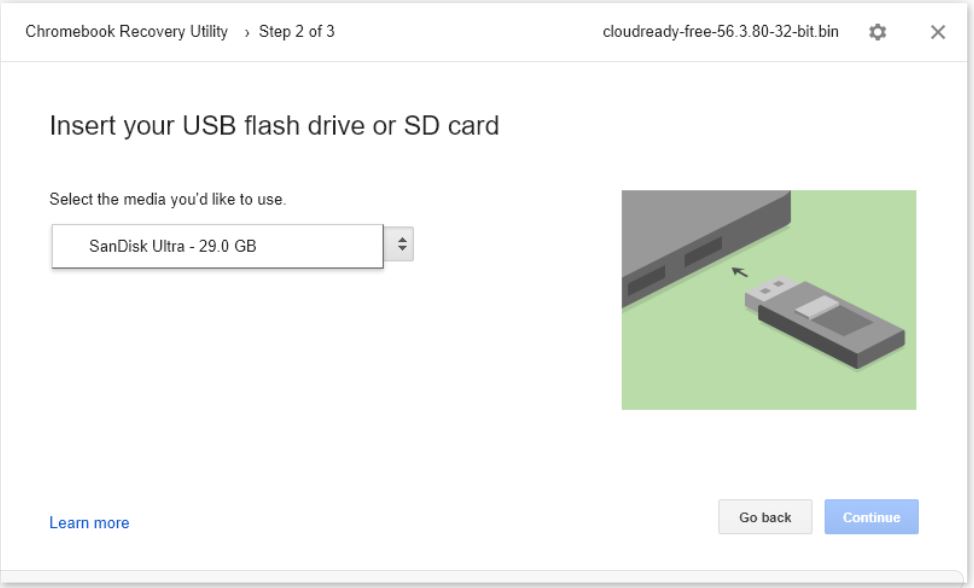
7. Connect your USB and select it from the options and click on Continue.
8. Wait for the process to complete. Once it is finished, you should see a screen like this.
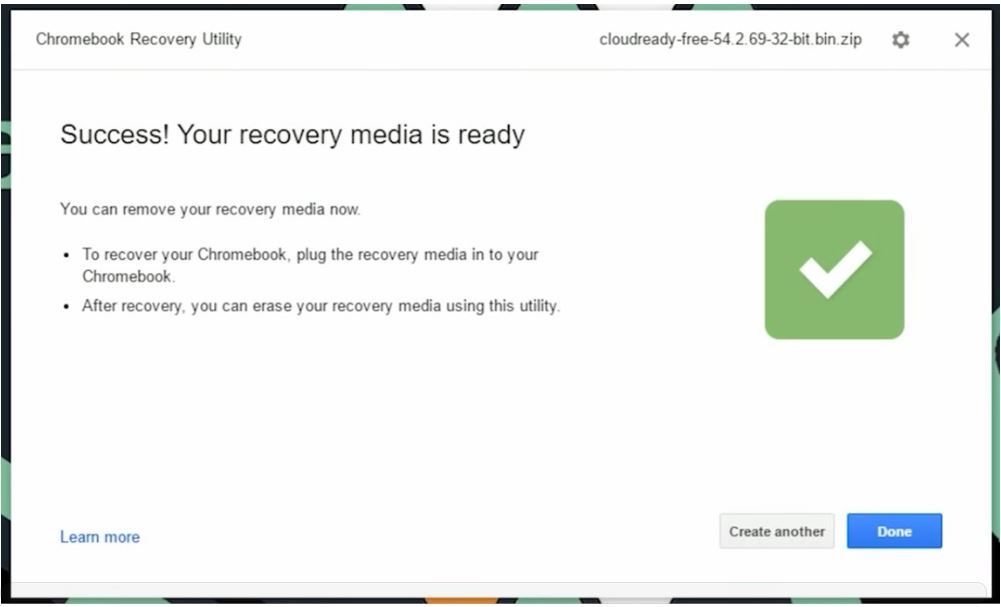
That’s it. Click on Done and you’re good to go. You can now directly boot into Chrome OS from any computer using your USB.
How to Boot From a Bootable USB
1. Before starting the computer, insert the USB.
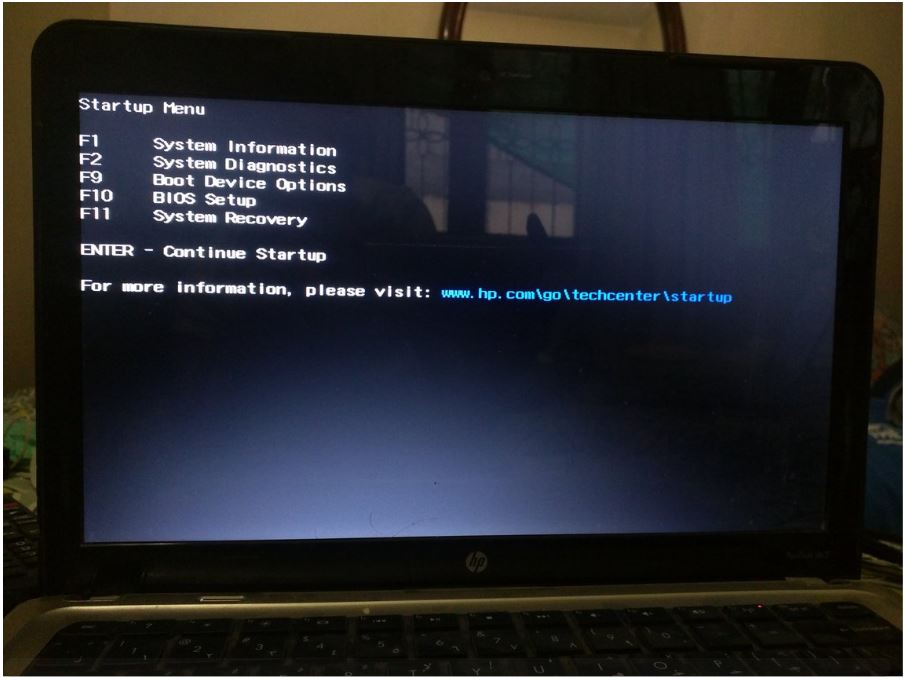
2. Turn on the computer and simultaneously, start hitting the “ESC” key repeatedly before the boot-up screen appears. This will take you to the Startup Menu where you can select which device to boot from.
Note: The Startup Menu options differ depending on device’s manufacturer. Just Google your device’s manufacturer name along with “Startup Menu” to find yours.
There, you should see an option to take you to the Boot Device Options, as shown below.
3. Press F9 and it should display a list of devices to boot from. Select “USB Hard Drive – [USB Name]”. (USB Hard Drive – SanDisk) in my case.
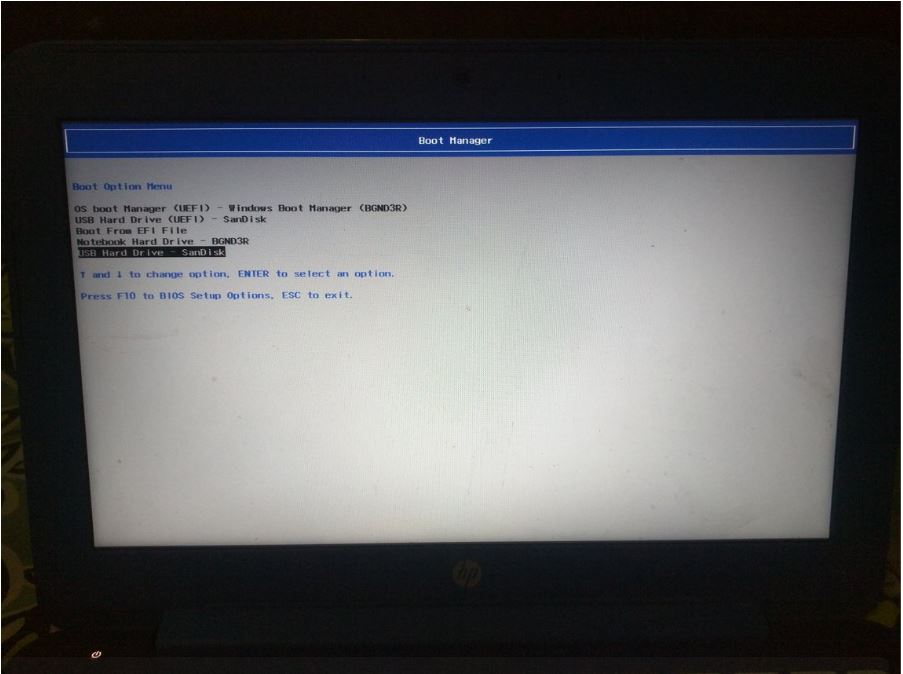
4. Select the device and it will automatically boot from the device.
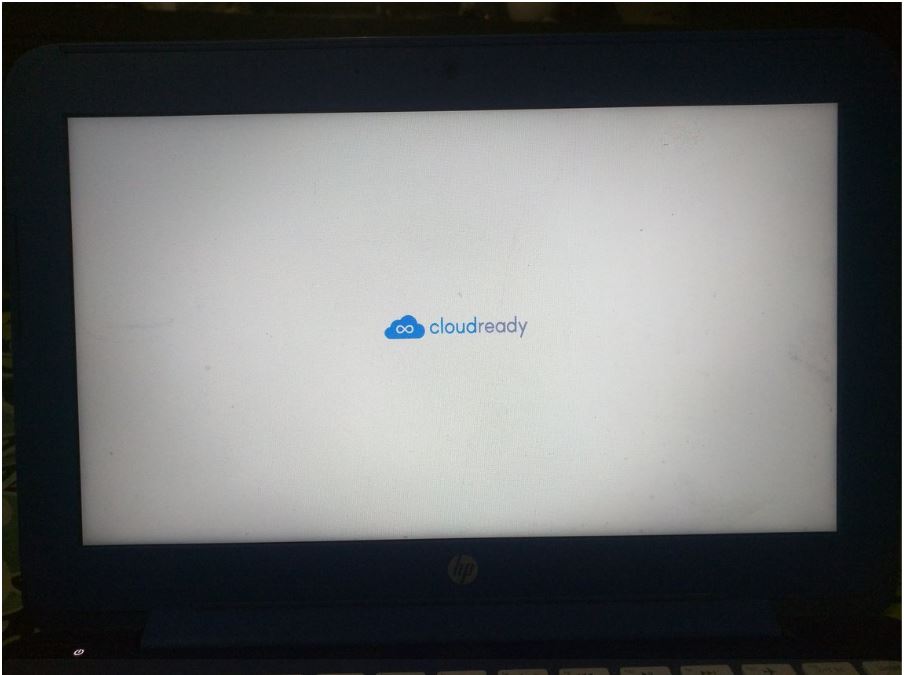
You should now see this screen appear on your computer. If you don’t see it, scroll down to Known Issues.
You can also set your computer to prefer a USB device for booting up by doing the following:
- Turn off the PC.
- Turn it on while pressing F10 to access the Boot Menu.
- Use the arrow keys to navigate to System Configurations.
- Navigate to Boot Options and then Boot Order.
- Go to USB and then use F6 to bring it to the top.
- Click F10 and when asked to Save and Exit, select Yes.
Known Issues
- If you face issues accessing the Boot Menu, you can turn off the “Fast Startup” option available on some Windows PCs.
You can do this by,
- Type Control Panel in the search box.
- Click Control Panel.
- Click Power Options.
- Click Choose what the power buttons do.
- Click Change settings that are currently unavailable.
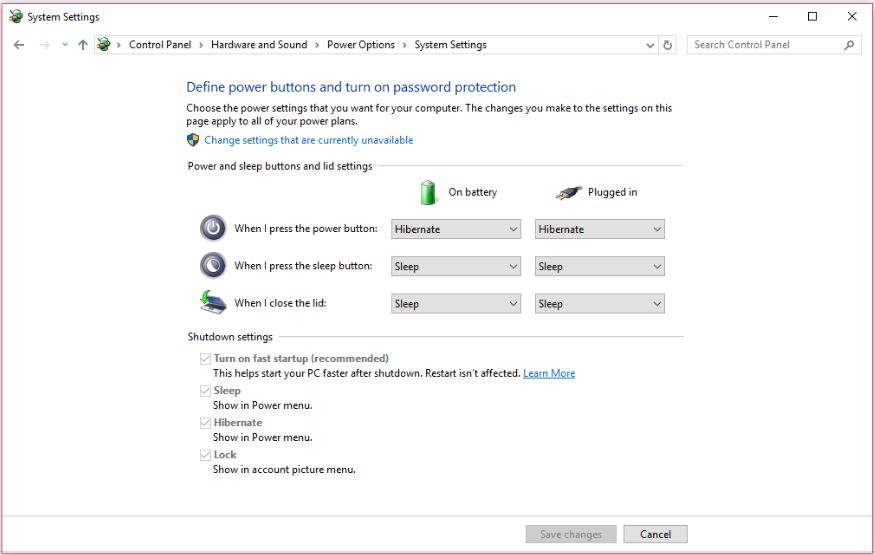
- Scroll down to Shutdown settings and uncheck Turn on fast startup.
- Click Save changes.
Note: If the option is grayed out (as in the image below), click on “Change settings that are currently available” written in blue font above the power options.
- If your screen is stuck with a blinking cursor on a black screen when you boot from the USB, you can turn on Legacy Support.
Here’s how you can turn it on:
- Turn off your PC.
- Turn it on while pressing the F10 key to access the boot menu.
- Use the arrow keys to navigate to System Configurations and then Boot Options.
- Navigate to Secure Boot and Disable it.
- Navigate to Legacy Support and Enable it.
- Click F10 and when asked to Save and Exit, select Yes.
Stay Connected with ProPakistani
Get the latest news, tech updates, telecom insights, and business stories wherever you prefer.
Add ProPakistani to Preferred Sources and see more of our stories in Google Search and Top Stories.


Download Rufus, Open Rar Format File : Add USB Make Bootable : Restart System Choose USB Boot Mode From Bios
No need for long article :P
Yeah That’s my Mean :
Or You can use YUMI it is best soft for multiple bootable programs.
Ok Thanks
Yeah!
A good read. Thank u
well it’s Chromium OS (Open Source), not Chrome OS (Proprietary/closed).
it’s easy to copy paste from web but atleast understand what you’re posting!
You missed a part .. when u are all done and if ur USB is had space left … if wont be usable … it even wont show .. it ll be showing just 1/2 GB of disk space of the USB … and to get the space back you need to use another procedure ..